Introduction
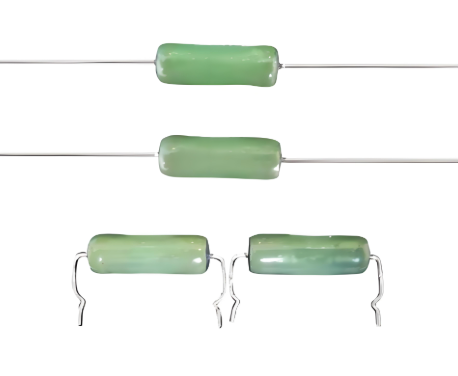
Jumper resistors are indispensable tools for electronics prototyping, offering a simple yet effective way to create connections in breadboard projects and PCB designs. Whether you're working on Arduino prototypes or testing circuit concepts, understanding how to use jumper resistors effectively can save time and prevent headaches. This guide covers everything from selecting the right jumper resistor types to advanced breadboarding techniques, complete with practical data tables and solutions to common prototyping challenges.

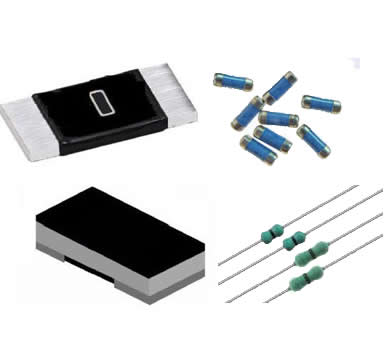
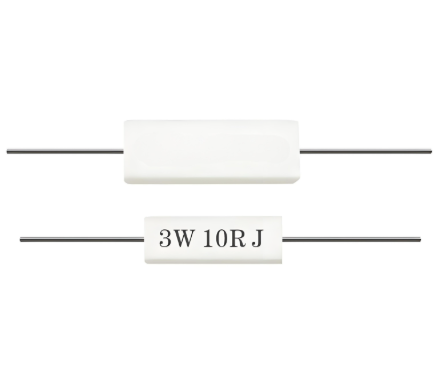
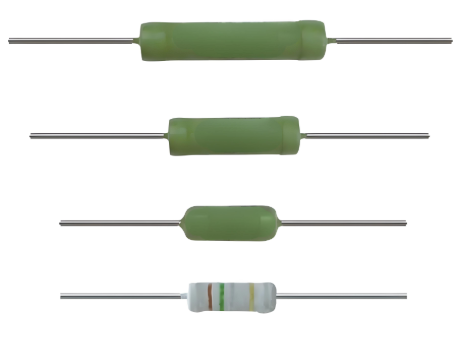
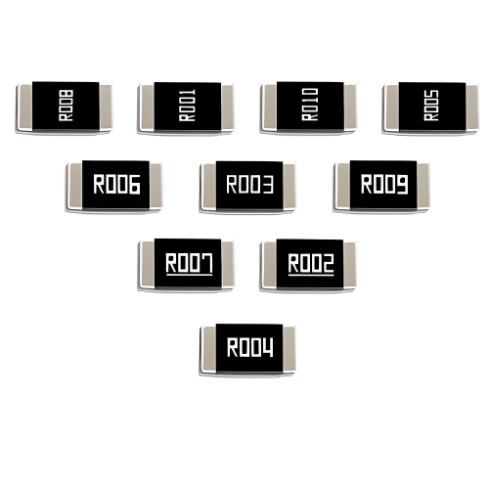
Jumper Resistor Types for Prototyping
Choosing the right jumper resistor type is crucial for successful electronics prototyping projects. Here's how common options compare:
| Type | Size | Max Current | Best For | Price Range |
|---|---|---|---|---|
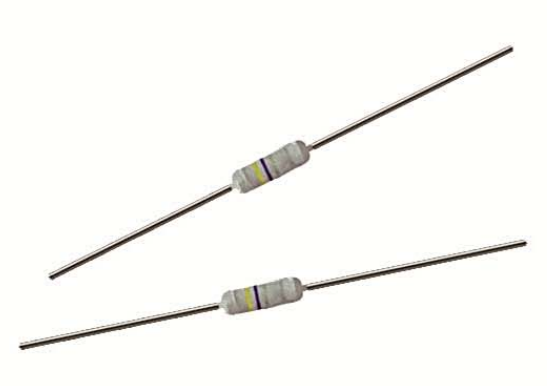
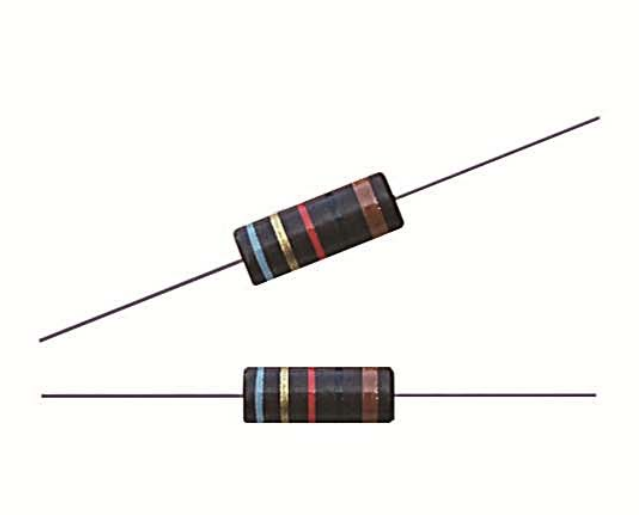
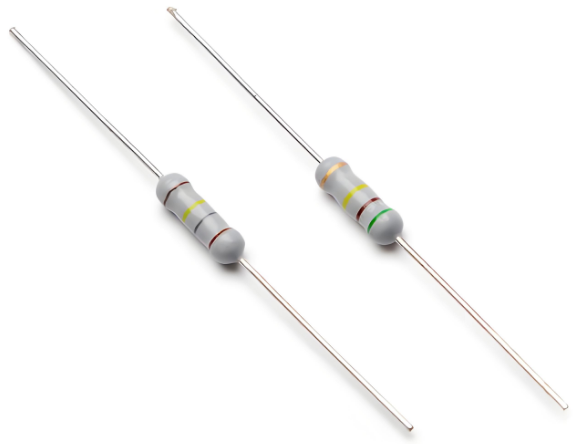
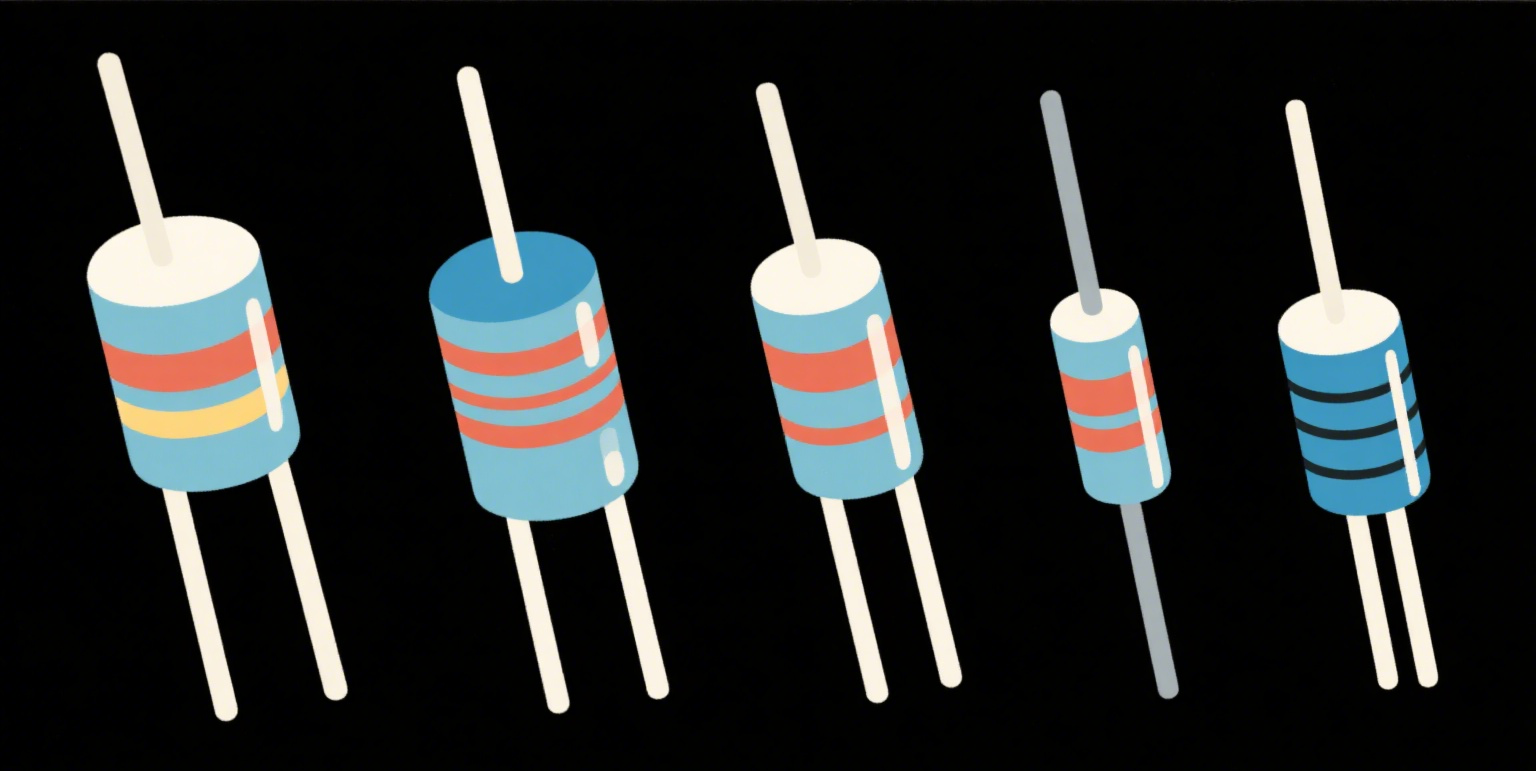
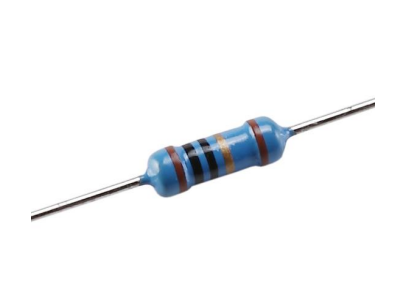
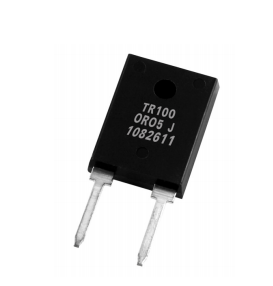
| Axial Lead (5%) | 1/4W | 150mA | Basic breadboarding | $0.02-$0.10 |
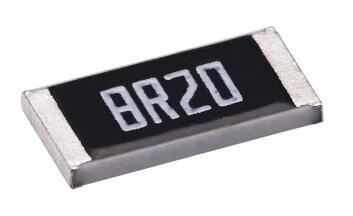
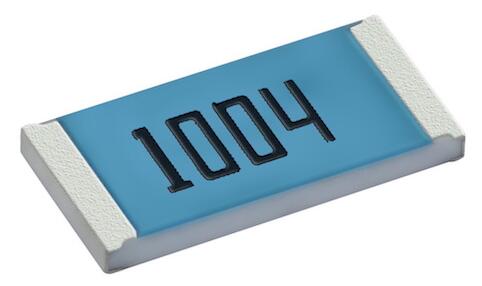
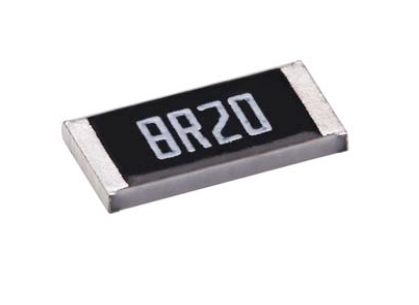
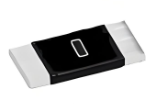
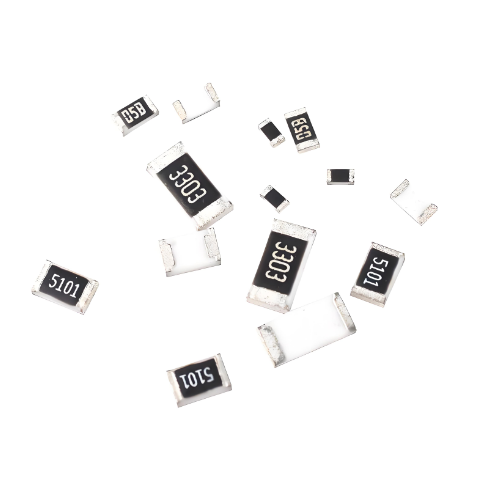
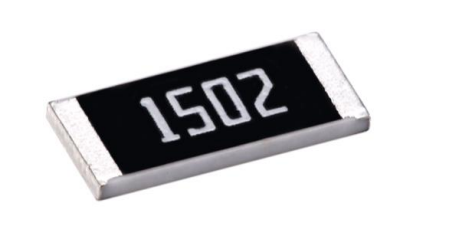
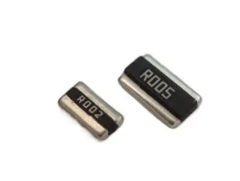
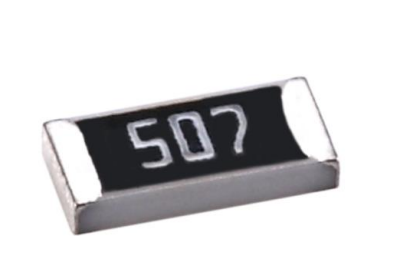
| SMD 0805 | 0.08"x0.05" | 500mA | PCB prototyping | $0.01-$0.05 |
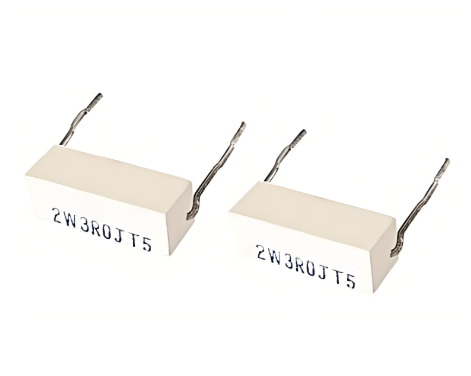
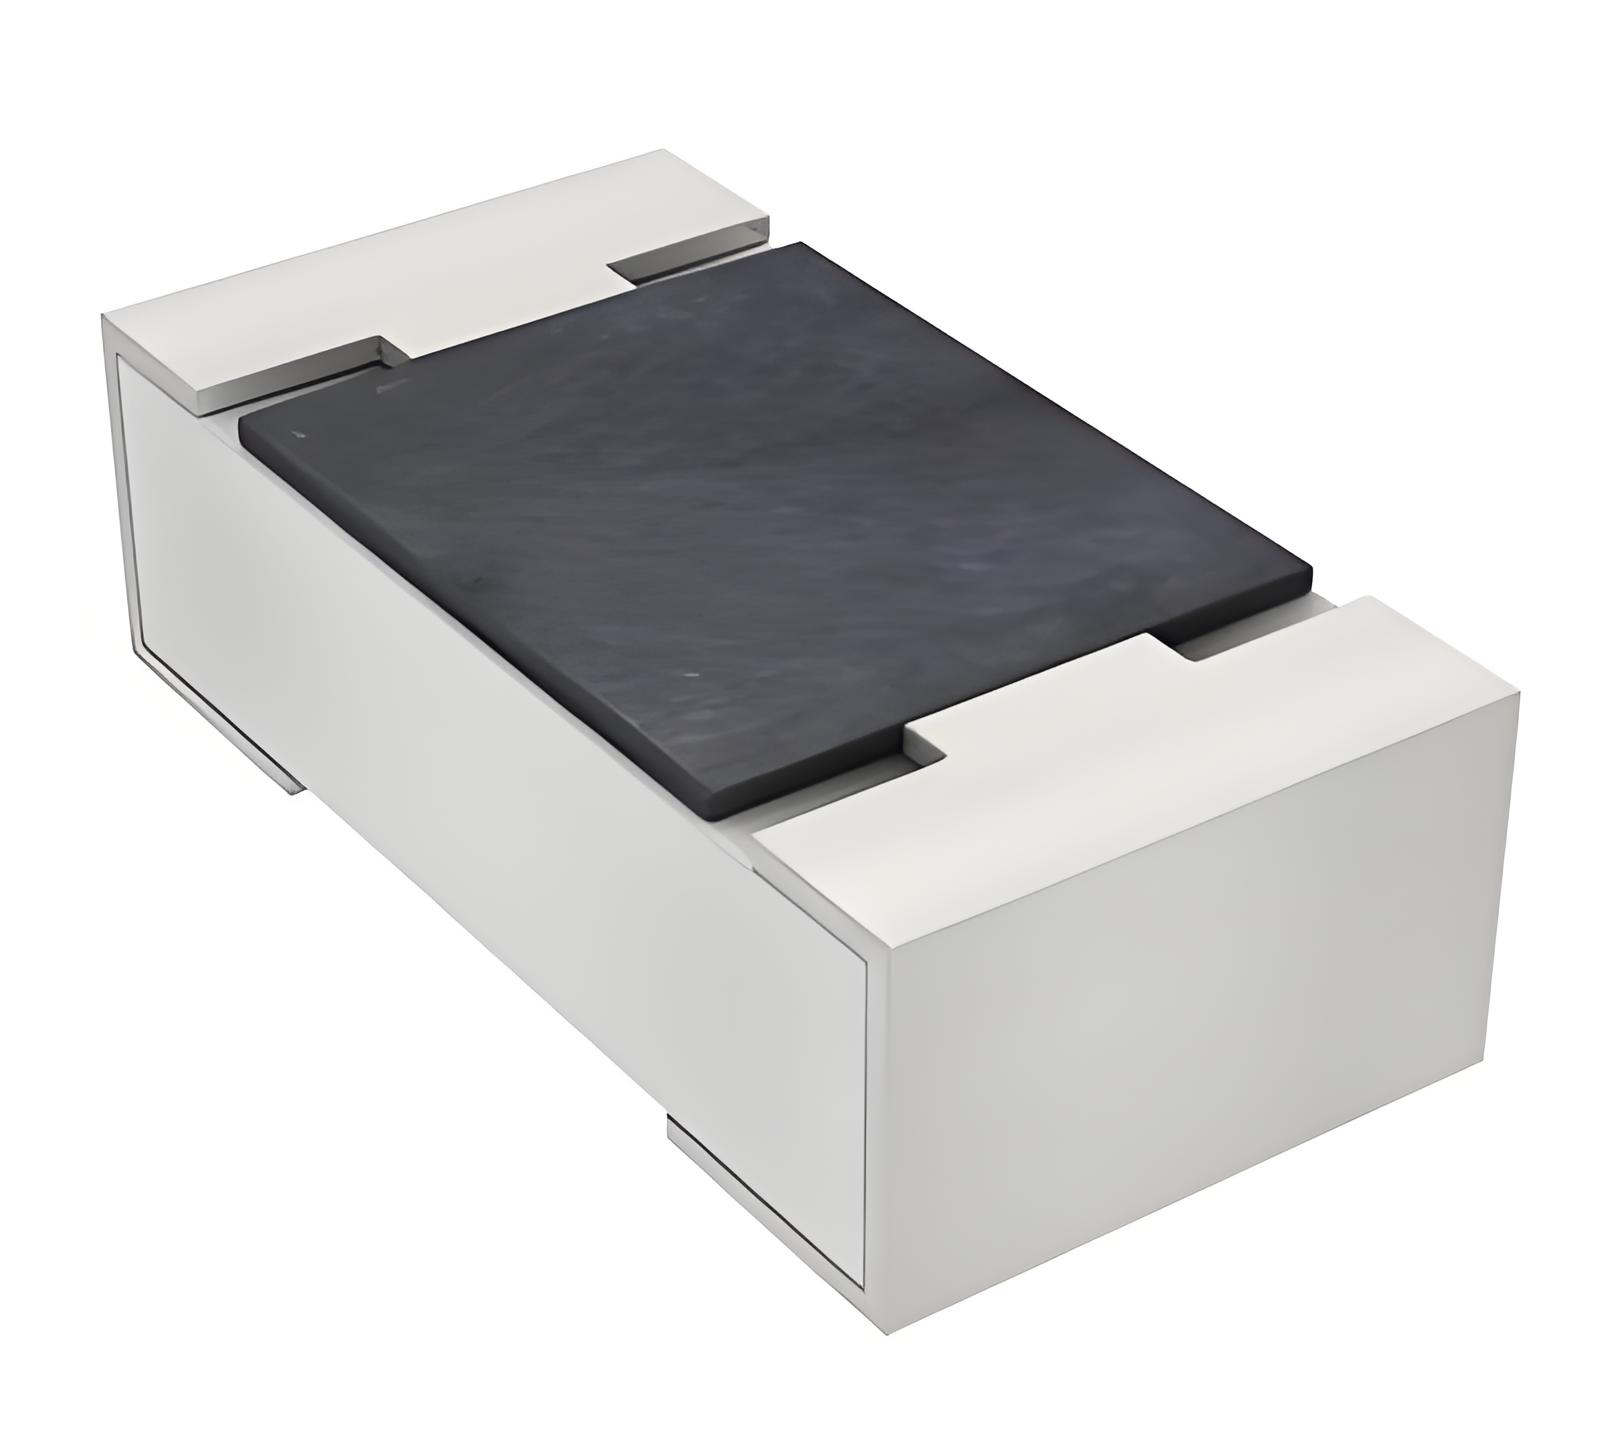
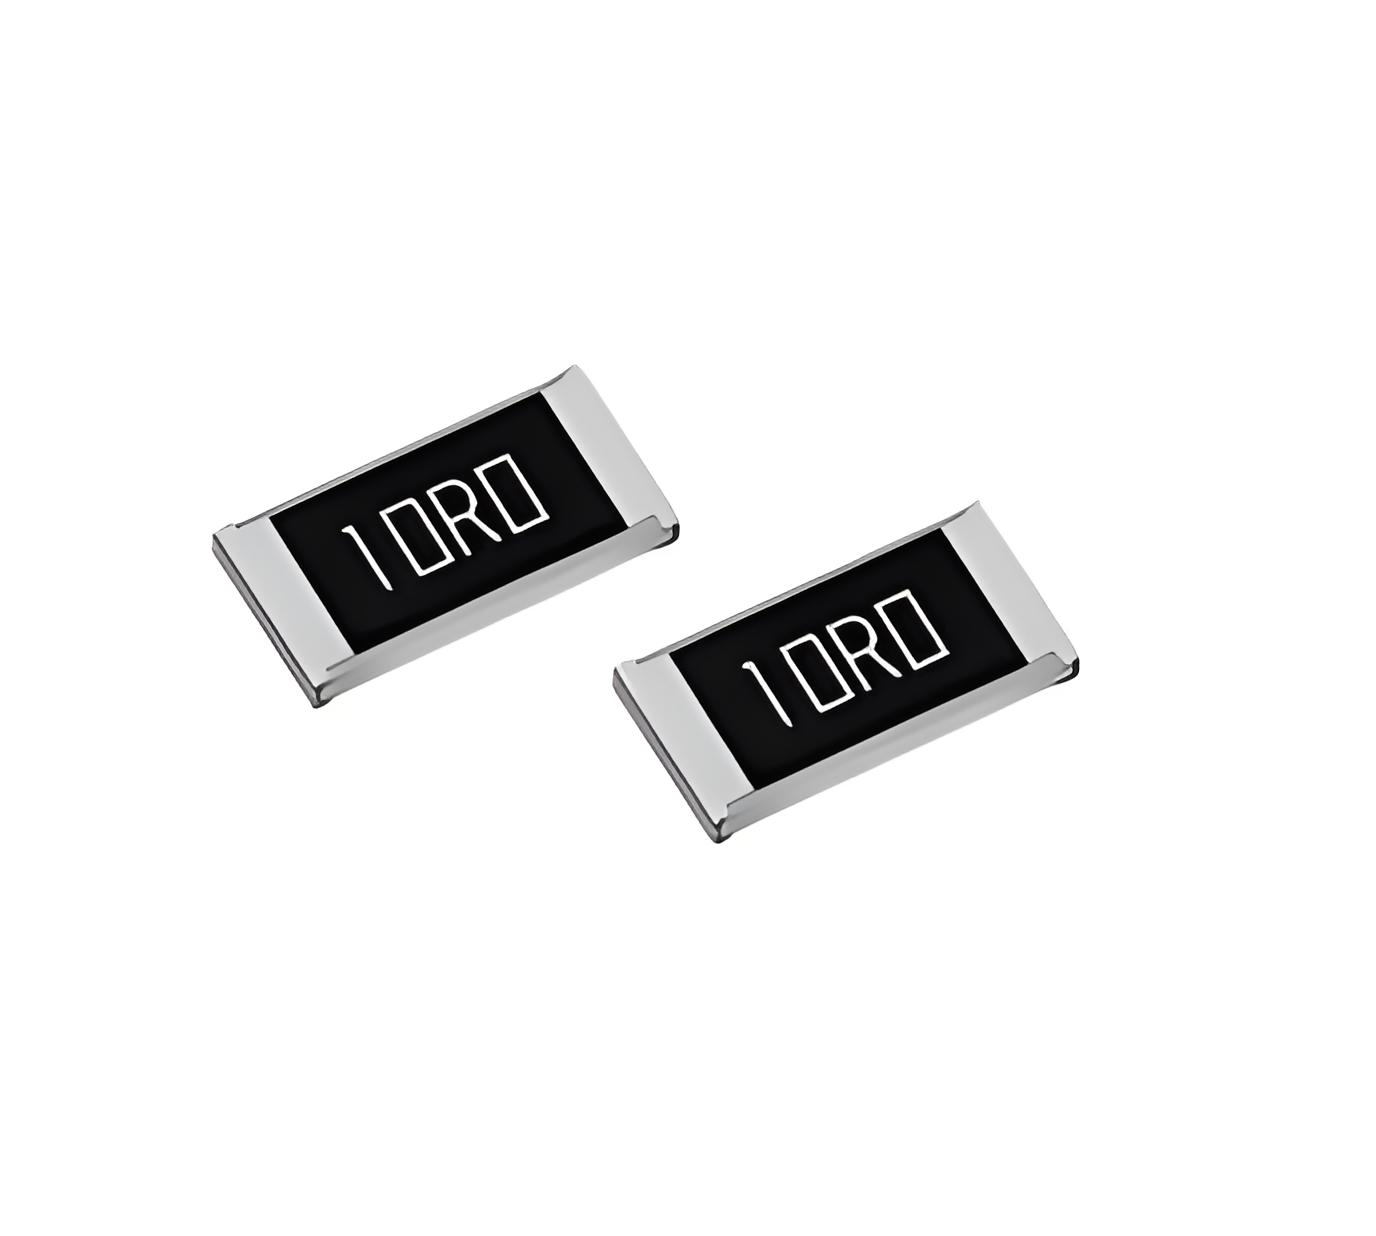
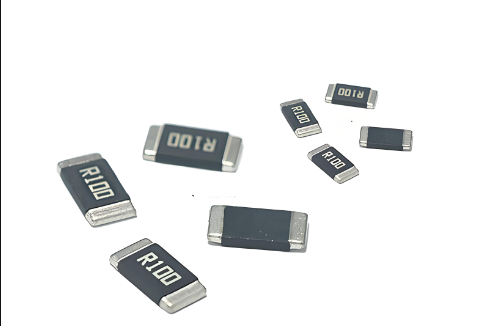
| Zero-Ohm (Jumper) | 1206 | 2A | High-current paths | $0.03-$0.15 |
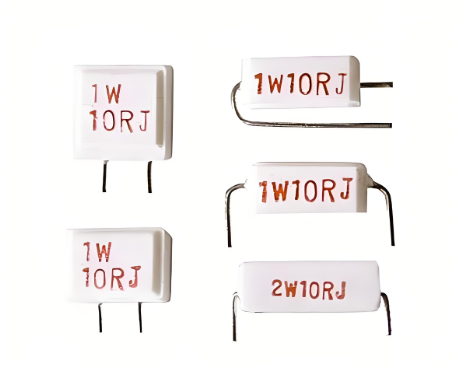
| Fusible Link | 1W | 1A | Safety-critical | $0.15-$0.50 |
Solution: Use 1/4W axial lead jumpers - their thicker leads won't loosen breadboard sockets like repeated wire insertions can.
Breadboard Connection Techniques
Proper jumper resistor placement affects both circuit reliability and prototyping efficiency:
Good Practice
Color-code by function (red=power, black=ground)
Keep leads trimmed to 1/4" for breadboards
Use 0Ω resistors for configurable options
Group related jumpers together
Bad Practice
Long, looping jumper connections
Mixed color schemes
Untrimmed excess lead length
Overloading single power rails
Current Capacity & Safety Limits
Understanding jumper resistor current ratings prevents overheating in prototypes:
| Resistor Type | Max Continuous Current | Peak Current | Voltage Drop @100mA |
|---|---|---|---|
| 1/8W Carbon Film | 50mA | 100mA | 0.2V |
| 1/4W Metal Film | 150mA | 300mA | 0.15V |
| 1206 SMD | 500mA | 1A | 0.05V |
| Zero-Ohm Jumper | 2A | 5A | 0.01V |
5 Common Jumper Resistor Mistakes
Avoid these frequent prototyping errors with jumper resistors:
Overestimating current capacity - Most 1/4W resistors can't handle >150mA continuously
Ignoring voltage drop - Even low values affect sensitive analog circuits
Poor breadboard contact - Loose jumpers cause intermittent faults
No strain relief - Unsupported jumpers pull out during testing
Wrong jumper type - Using signal jumpers for power connections
Solution: Replace standard 1/8W resistors with 1/4W metal film types for LED circuits drawing >30mA, or use dedicated jumper wires for high-current paths.
Advanced Prototyping Tips
Elevate your electronics prototyping skills with these professional techniques:
| Technique | Tools Needed | Benefit |
|---|---|---|
| Kelvin Connections | 4-terminal jumpers | Eliminates contact resistance errors |
| Configurable Options | DIP resistor arrays | Quick circuit modifications |
| Current Measurement | Precision 0.1Ω jumpers | Inline current sensing |
| Thermal Relief | Heat-shrink tubing | Prevents solder joint fatigue |
Starter Project Ideas
Practice your jumper resistor skills with these beginner-friendly projects:
| Project | Jumper Type | Skills Learned |
|---|---|---|
| LED Matrix | Axial 1/4W | Current limiting |
| Voltage Divider | 5% carbon film | Ratio calculations |
| Breadboard Power Bus | Zero-ohm jumpers | Power distribution |
| Prototype Shield | SMD 1206 | PCB-style layout |
Mastering jumper resistor techniques for breadboard projects will significantly improve your prototyping speed and reliability. Whether you're creating temporary connections or designing configurable circuits, the right jumper resistor approach makes all the difference in successful electronics experimentation.